The former state of the beautiful mahogany trim in the living room and dining room is probably responsible for two of my white hairs. I knew that sanding the trim would take away its patina, yet I didn't know how we could address the paint splatters and water damage without some sanding. And the holes! What do we do about all of those holes? Over the years, many different window coverings were utilized and most of them were mounted directly into the trim.
We decided that our best course of action was to talk to the experts. We took a short piece of trim from behind the front door to a local shop that specializes in stains and paint. The associate instructed us to clean the paint splatters using Krud Kutter and a light abrasive such as a scrub sponge or tooth brush. If the paint didn't respond to the cleaner, we could dab a rang into lacquer thinner and hold it on the offending spot for 10 or 15 seconds and then wipe it away. If not successful with the lacquer thinner, we could lightly sand the spot with 220 grit sand paper being careful to sand just the surface. Then, once perfectly clean and dry, apply several coats of linseed oil. That's it! Although I say, "that's it!", it was really no easy task. We worked on that trim for hours and days and wore the skin off our poor little fingers.
 |
| Before (bottom) and after (top). |
The cleaning brightened the wood to a shining honey-tone. Black gunk had gathered in the groove of the trim profile, likely from fireplace and cigarette smoke from over the years. Nick diligently worked with various tiny tools to clean the grooves.
 |
| Sill: before. |
|
 |
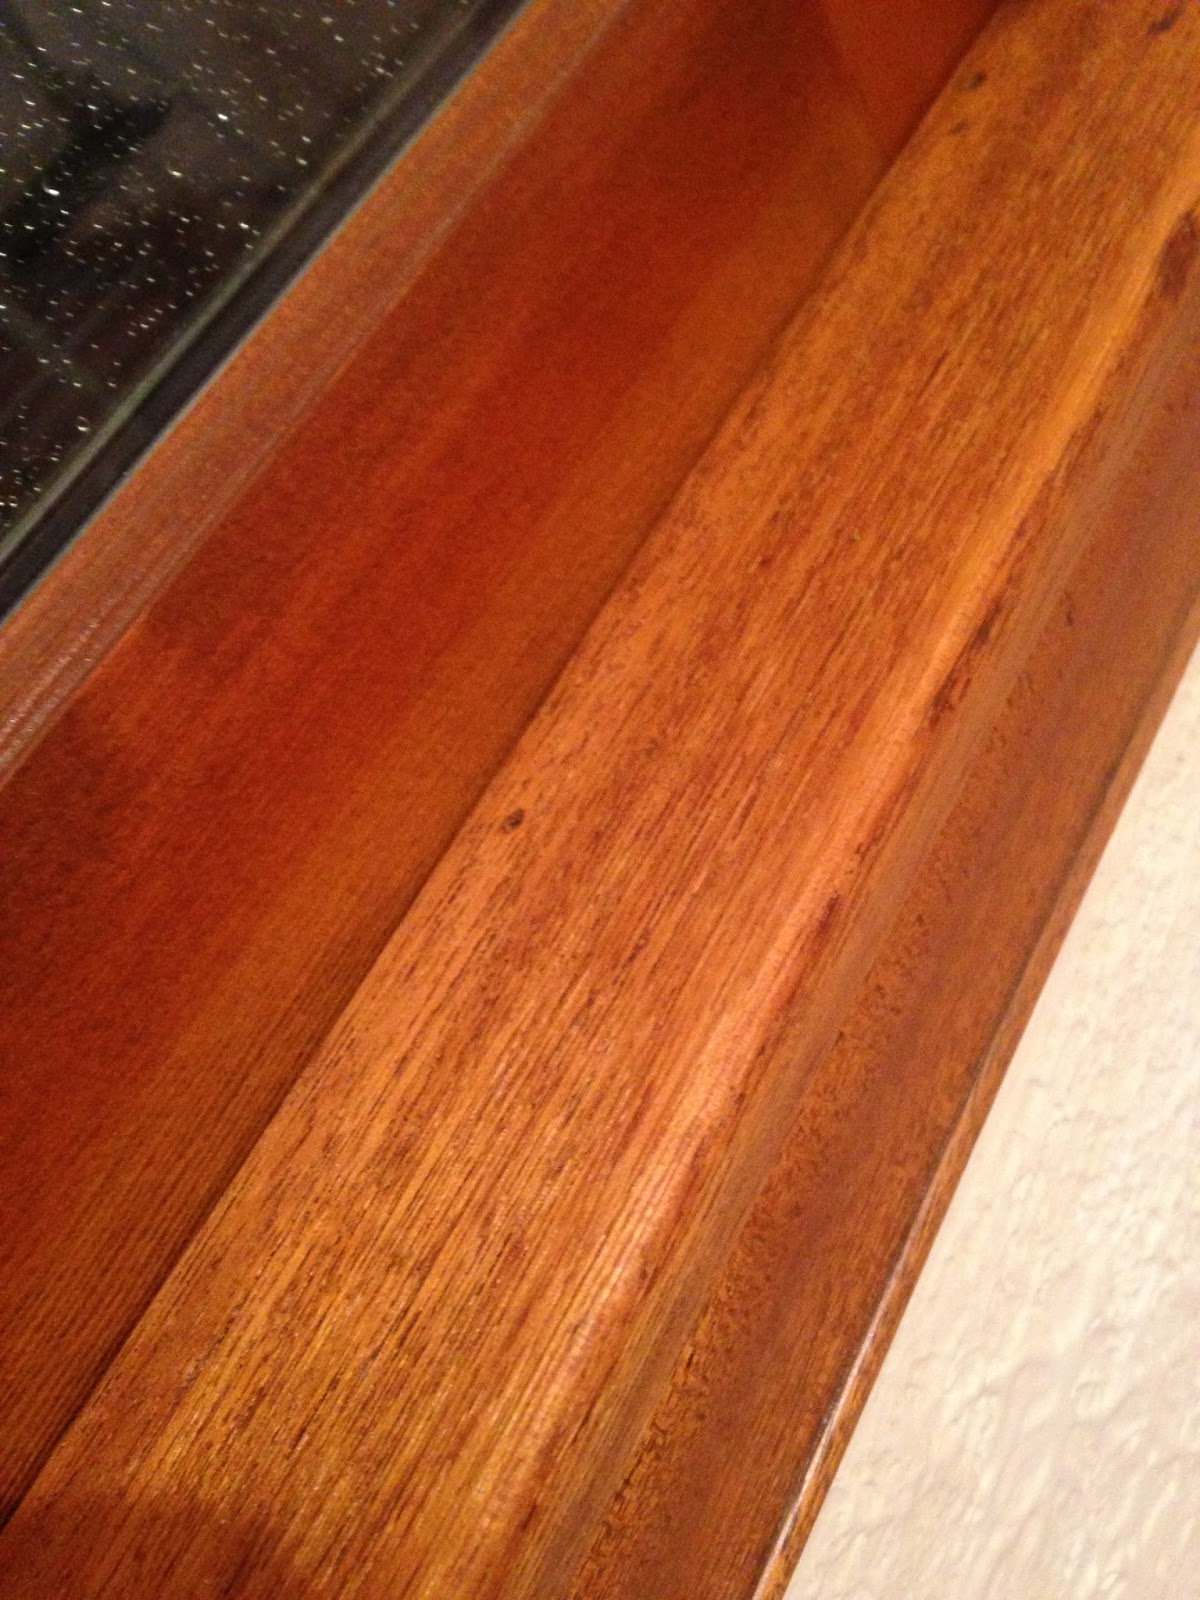
| Sill: after. |
|
The sills were an exception to the rule. They HAD to be sanded to level out the warping from the water damage. The sanding helped to reduce the black stains from the water damage. However, in spots where sanding wasn't enough, we very gently applied a bleaching agent that we purchased from the wood stain experts. The result was quite pleasing! The sills may have come out slightly lighter than the other trim, but really not noticeably so.
Oh, and the holes? I patched them with a soft wood filler. You'll only notice them if you look very closely.
 |
| Do you see holes? |